Canon EOS R100 Underwater Settings
Posted by Nirupam Nigam on November 3rd, 2023
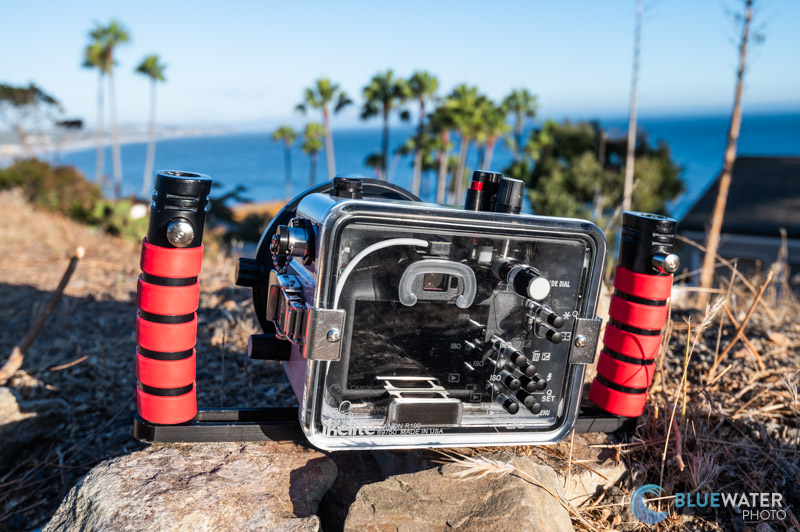
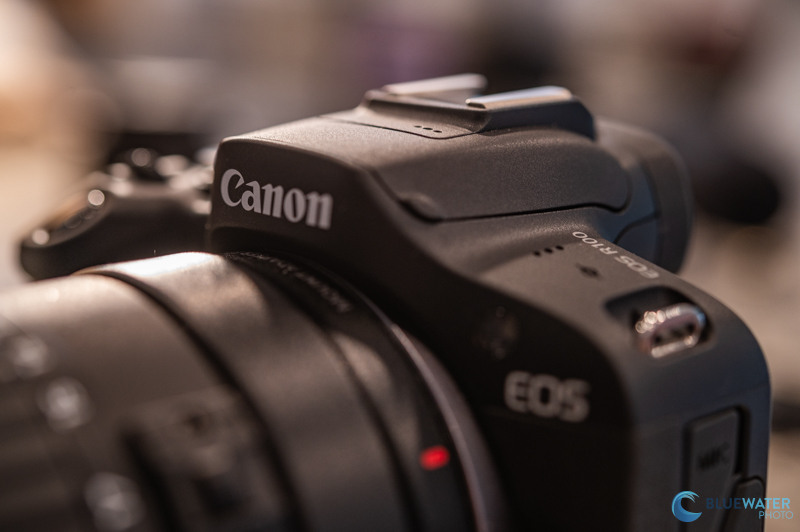
The Canon EOS R100 is an incredibly affordable APS-C mirrorless camera with a 24 megapixel image sensor. While it doesn't have all the bells and whistles of a higher end camera, it's hard to deny the professional-grade image quality for an entry level price point. Fortunately, the simplicity of the R100 makes it a very easy camera to learn and grow with. That's why this underwater settings guide for the R100 is quite short. It has simple controls and a simple menu interface. After two months of diving with the camera, we're excited to publish are top tips and tricks!
****Thinking about a Canon R100? Check out our special packages!******
Adjusting the Triangle of Exposure
The triangle of exposure allows you to have full manual control of your underwater photography. This means you can adjust how bright your image is, how much background blur there is, how sharp the image is, and how clear (or noisy) the photo is.
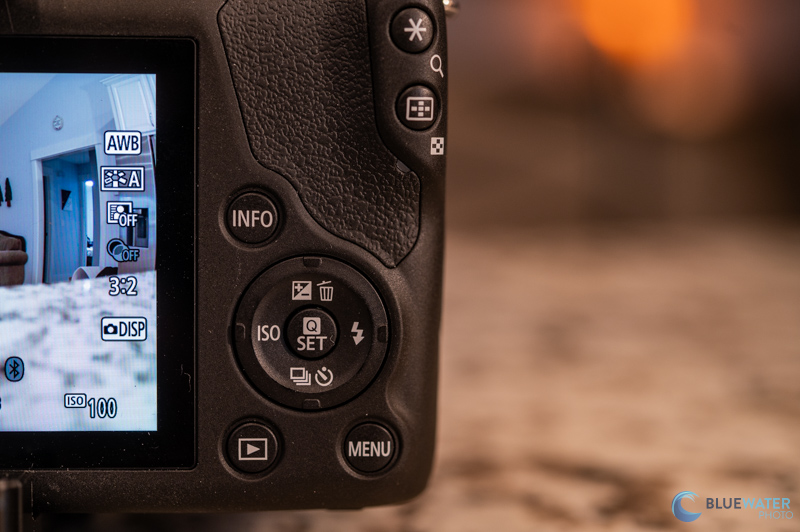
ISO - The ISO of your camera is roughly defined as it's sensitivity to light. Although it's actually a little more complicated than that, your image will be brighter with a higher ISO. Typically we recommend keeping your ISO on this camera around 100-600. This gives you the cleanest image with the least noise. Adjust your ISO by clicking the left button on your d-pad, and scrolling left and right with your d-pad.
Aperture - Your aperture, how wide open the "pupil" on your lens is, is controlled by a setting called the f-stop. The higher the f-stop, the darker the image, and the more of your background is in focus. If you want a blurry background you need a lower f-stop. For wide angle, we typically recommend f/8 or higher. For macro you can play with your f-stop depending on the background that you want. To adjust your aperture, click the up button on your d-pad until the f number has an orange gear next to it. Then rotate your top dal.
Shutter Speed - Your shutter speed controls the amount of ambient light that reaches your sensor. A higher shutter speed, the darker your background and a lower shutter speed, the lighter your background is. We recommend shooting 1/80th or higher to make sure your freeze your subject and don't have motion blur. To adjust your shutter speed, click the up button on your d-pad until the f number has an orange gear next to it. Then rotate your top dal.
The Q Menu
The Q menu is the most important button on your camera. It allows you to access your most important settings with one click of a button. The Q menu is in the center of the d-pad.
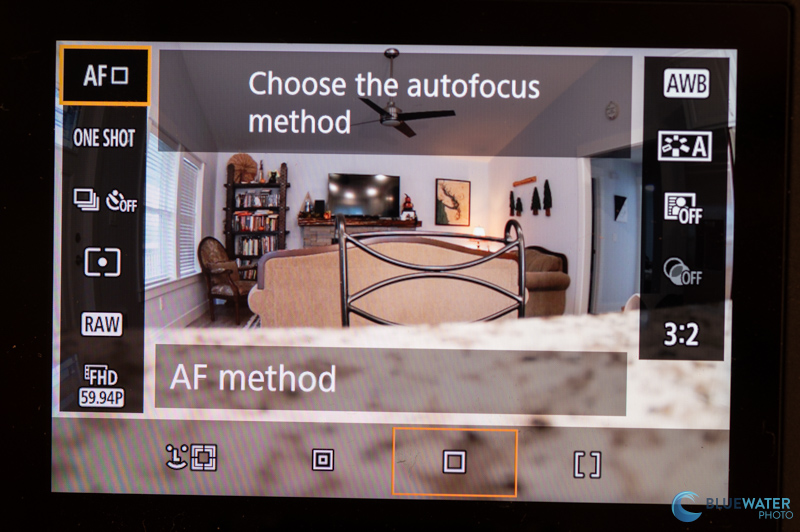
Here are a few important settings to understand in the Q menu.
Autofocus Method - this lets you select the autofocus area. We recommend 1-point AF as it is relatively easy to line up with your subject. Tracking is fun to play with but it is not as fast on this camera as the Canon R10.
Autofocus Operation - we recommend leaving your camera in one shot. This will lock your autofocus on the subject when you half-press your shutter so you can pan and recompose. If you have a quick subject you can try AF servo (or if you want to use the tracking mode), but we fine one shot works the best with the R100.
Drive Mode - this allows you to shoot single frames, or in a quick burst. For action shots, place the camera in continuous shooting. For macro photos, single shot is fine.
Metering Mode - leave this in spot metering for TTL
Image Quality - Shoot RAW if you want to edit your photos in Adobe Lightroom later!
Movie Recording Size - We recommend FHD/59.94p so that you can slow your footage and stabilize it later on
White balance - auto with video lights and strobes
Picture Style - standard
Image aspect ratio - 3:2
The Main Menu
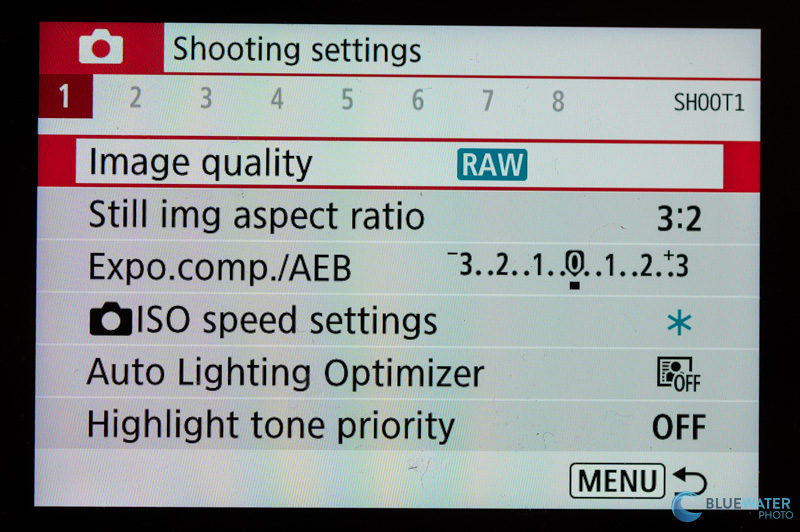
Although the Q menu covers most of the settings you need to set underwater, there are still some useful settings in the menu to know about. After selecting the menu button, select ok under "shooting settings." You may recognize many of these settings from the Q menu. However, it's important to know the location of a few more. Under menu 2 of the shooting settings, flash control allows you to adjust your flash settings for your strobes. However, in most cases you can leave this in default, unless you want to shoot second curtain for motion blur photos. Your color space setting is also in this menu, which can be left in sRGB. Under panel 6, you can select the review duration that an image will playback after selecting the shutter. I typically choose 2 seconds. Finally, the most important setting to set when you are shooting with strobes is exposure simulation. You must disable it to see your LCD when shooting with strobes.
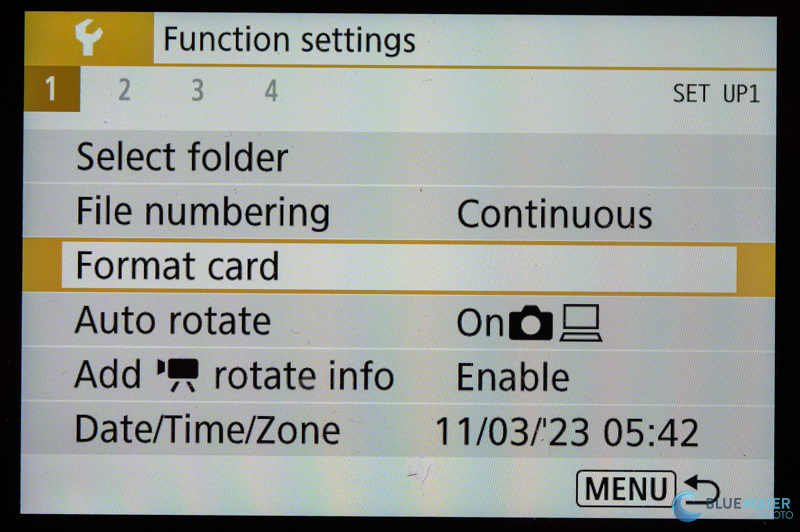
If you select function settings after selecting the menu, you can adjust the date and time as well as format your card to delete all the photos on your card, under panel 1.
Conclusions
And that's pretty much it! The simplicity of the Canon R100 makes it easy to operate, easy to learn, and allows you to focus on what really matters - composition and the triangle of exposure.


